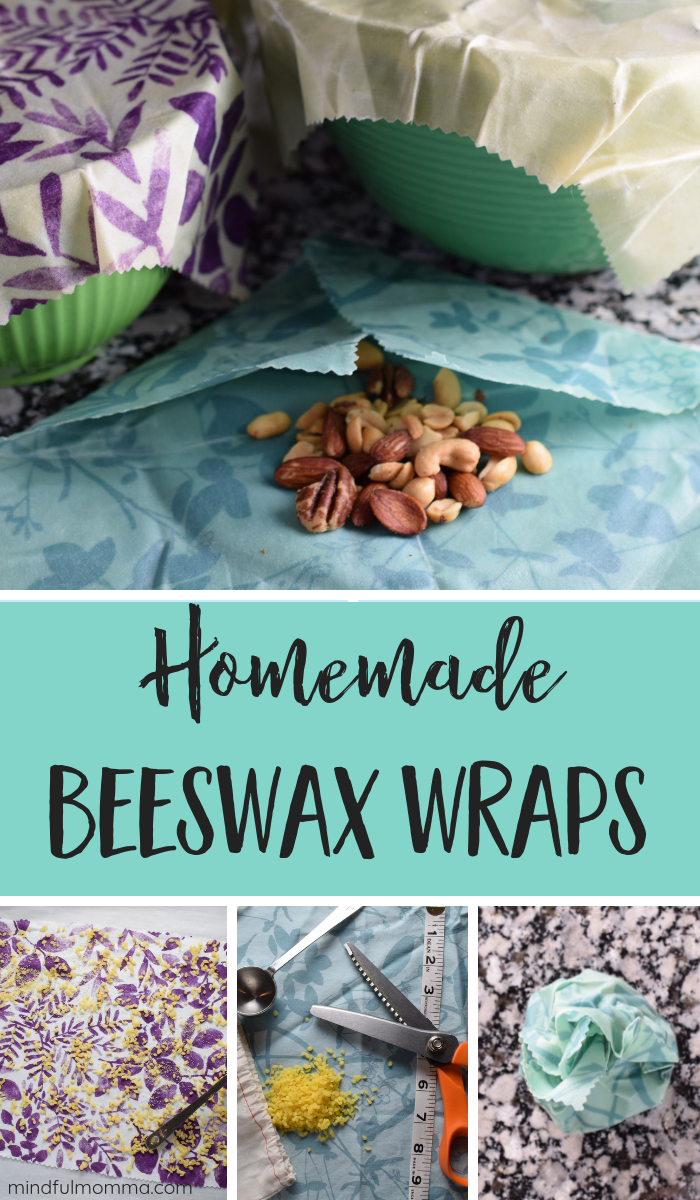
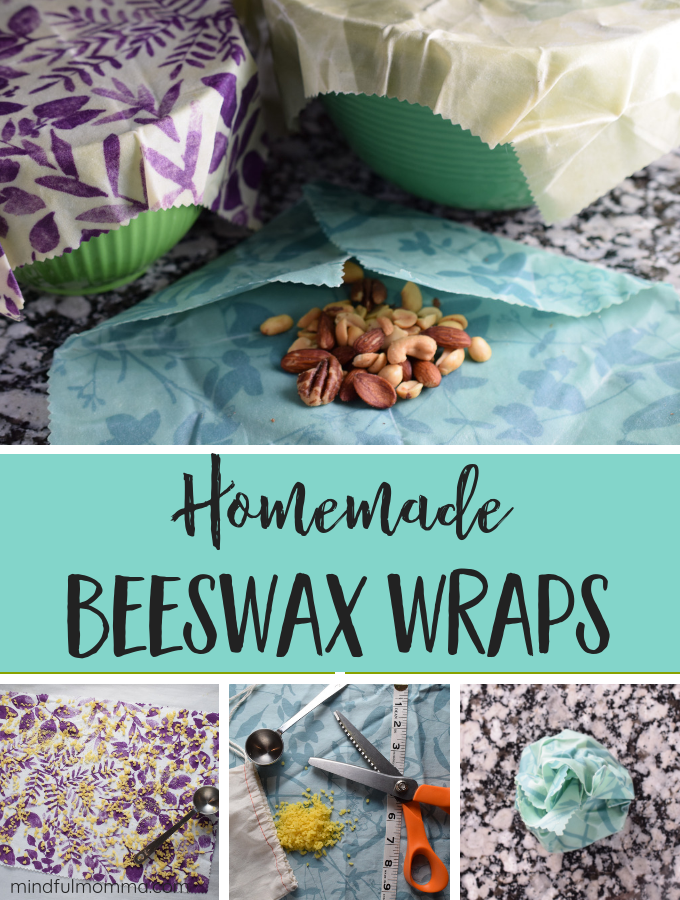
Study to make DIY Beeswax Wraps as a non-toxic, zero waste completely different to plastic wrap in your kitchen.
As someone who has always favored to dabble in DIY, I’ve an fascinating conduct of having a look at objects in a retailer and saying “I could make that!”
To be reliable, I’m not sure if it’s a blessing or a curse because of whereas I just like the reward of making points by hand, I do have a reasonably large present of crafting provides taking over space in my basement. There’s moreover the stash of hand-crafted stuff that wasn’t pretty okay to current nonetheless isn’t exactly being useful in the mean time (all these bowls from ceramics class – what was I pondering?!!)
Can you relate to this DIY dilemma?
That’s the reason I’ve grown to love the sort of craft endeavor that not solely makes large wise objects that I can use immediately, however moreover makes use of up craft provides that I already have obtainable. The DIY Beeswax Wraps I’m displaying you proper this second are merely that sort of craft!
At Conscious Momma we solely endorse merchandise we’ve personally researched, examined, and in truth love. We’d receive commissions from affiliate hyperlinks on this text along with Amazon Associates. Full Disclosure
Why Make DIY Beeswax Wraps?
Sooner than we begin, let’s talk about beeswax wraps for a minute. In case you haven’t been indoctrinated however, beeswax wraps are gadgets of fabric which have been infused with pure beeswax. Warmth air or the warmth of your fingers makes the beeswax pliable and presents it sticking vitality.
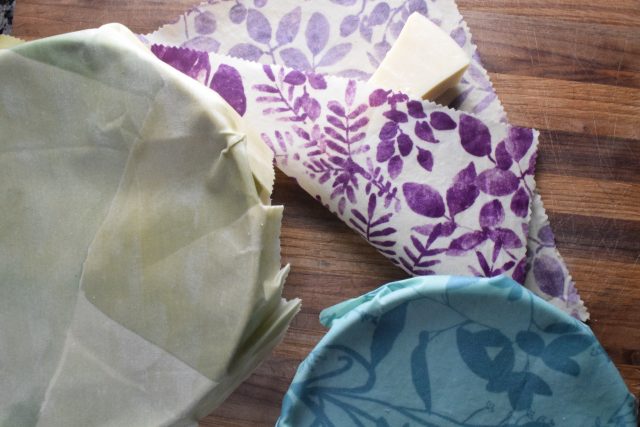
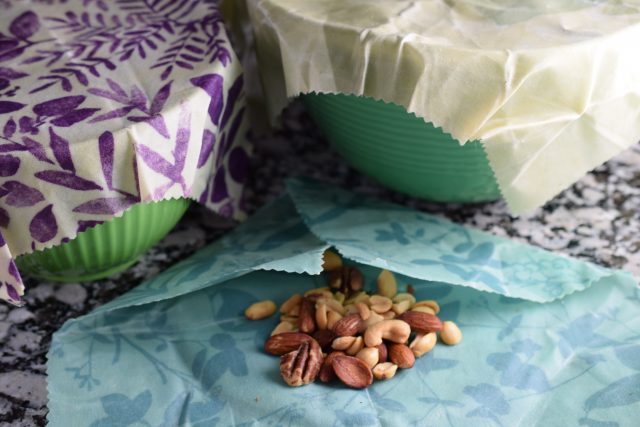
Beeswax wraps are primarily a sort of reusable meals wrap and a superb substitute for wasteful plastic wrap. They make implausible bowl covers – merely mildew the wrap throughout the excessive of the bowl. Beeswax wraps are moreover used to wrap up meals like sandwiches, cheese, fruits or nuts. (I wish to advocate sticking to sturdy meals objects solely, as liquids might leak out of the perimeters.)
In case you’re a fan of reusable kitchen merchandise, I guarantee you may love these!
RELATED: A Bunch of Alternate choices to Plastic Wrap for a Zero Waste Kitchen
You should purchase beeswax wraps actually – and there are numerous good selections on the market:
Nonetheless when you’re a serial crafter like me, you’ll merely have to find out how one can make them in your self!
Lucky these wraps are pretty easy to make and like I discussed, you would possibly even have the provides obtainable. Personally, I’ve a ton of material scraps from earlier initiatives, and since I typically make hand-crafted pure magnificence merchandise like lip balm or my lavender calendula balm, I already had the beeswax too.
And I’d be remiss to not level out the money saving half! Purchasing for a set of beeswax wraps will set you once more about $18 for a set of three, whereas making them your self will value considerably a lot much less.
The way in which to Make DIY Beeswax Wraps
So can you get started?
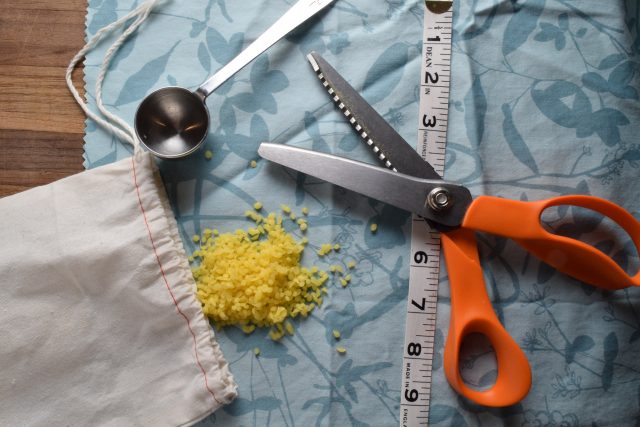
Listed below are the gives you may have to make hand-crafted beeswax wraps:
- Material scraps – I wish to advocate mild to medium weight, 100% cotton material solely. Useful sizes are 8″ x 8″ or 12″ x 12″ or 14″ x 14″, nonetheless really any dimension will do. Moreover remember that white material will change right into a bit yellow from the beeswax.
- Beeswax – I need beeswax pellets nonetheless chances are you’ll as effectively buy a bar of beeswax and grate it your self.
- Pinking shears – Pinking shears are scissors that reduce a zigzag in its place of a straight line, which helps maintain material from fraying on the sides.
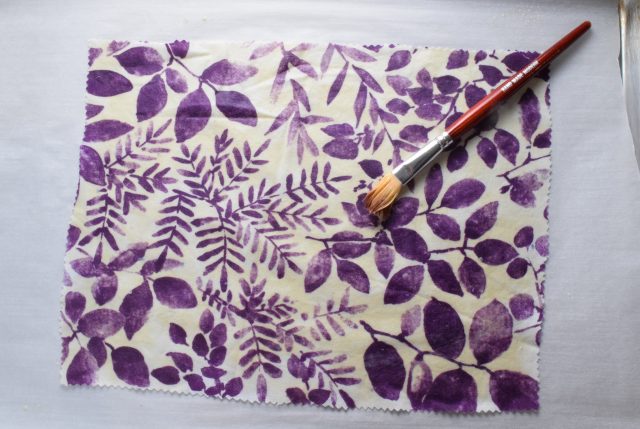
- Brush – An affordable brush that you just obtained’t need for an additional goal.
- Measuring tape or ruler
- Parchment paper
- Baking sheet – I benefit from a rimmed baking sheet to keep up the fabric from slipping off.

Begin by slicing out your material gadgets using the pinking shears. In case you don’t have pinking shears, you need to make the most of frequent scissors – don’t sweat it!
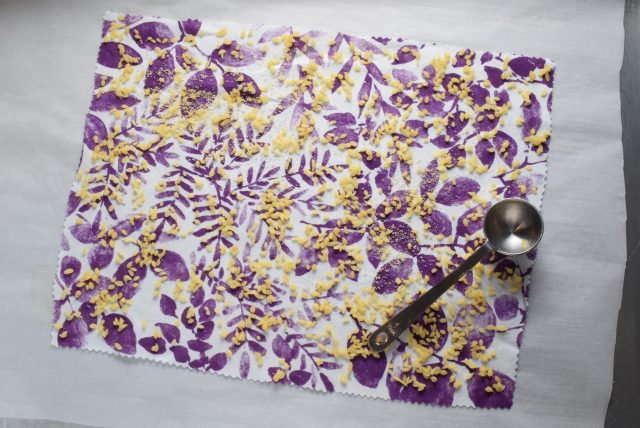
Heat oven to 200 ranges. Line a baking sheet with parchment paper. Place materials on the parchment paper.
Subsequent, sprinkle beeswax pellets on the fabric. I benefit from about 2 tablespoons of beeswax pellets for a 12″ x 12″ materials. It’s not an precise science though, so use your good judgement to sprinkle the beeswax spherical evenly.
Place pan in oven and let it “bake” for 5 minutes. Take away pan and use the comb to unfold the beeswax throughout the fabric, making certain to get it to all the perimeters.
Then flip the material to the alternative side and place once more throughout the oven. Let the wax soften as soon as extra for 3 additional minutes, then take away pan and brush as soon as extra. I found that this step helped to get the beeswax successfully distributed all by the fabric.
Select up the fabric (cautious, it’ll probably be scorching!) and each wave it spherical for a bit or clip it to a drying rack (see beneath) to let it dry.
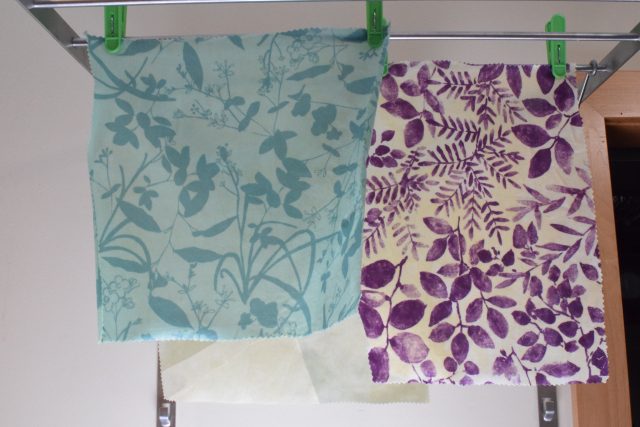
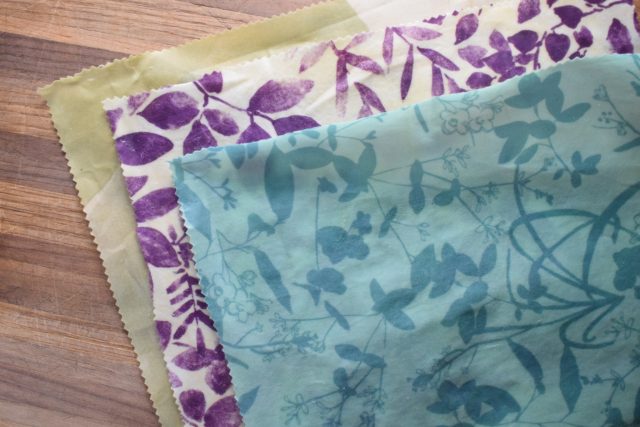
As quickly because the beeswax wraps are dry, they’re ready to utilize!
As I mentioned sooner than, beeswax wraps make good bowl covers! It’s moreover a great way to retailer cheese.
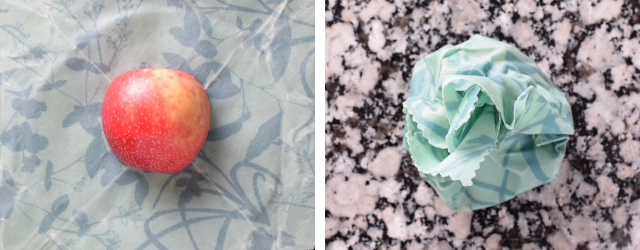
You might kind beeswax wraps spherical completely something! One factor small like an apple.
or larger like a cantaloupe

The way in which to Care For DIY Beeswax Wraps
Beeswax wraps might be washed rigorously in chilly water and left on a rack to dry. Beware – scorching water will soften off the beeswax so use chilly water solely. Scrubbing may even take away the beeswax.
Retailer wraps by folding them rigorously and placing in a drawer. Take wonderful care of your beeswax wraps they usually’ll remaining for six months to a 12 months (it really is decided by how so much you use them). Be at liberty to reapply the beeswax within the occasion that they lose their sticking vitality – or start over with a model new piece of material.
I’d like to know how you use your DIY Beeswax Wraps! Go away a comment or share {a photograph}!